

Teach Marty to Walk
Introduction
Using Scratch 3, you will code Marty walking without using the built in command. You will need to think about how different parts of Marty's body need to move to step right and left. You will progress from writing simple code to control Marty to more sophisticated code with function and variables!
Marty can be coded to walk without using the built in command.
Starting with code for just single steps to the right and left, the way that Marty's body parts need to move are then controlled using functions and variables.
What you will need
- A Scratch 3 compatible device
- Marty the Robot
What will you learn about?
- Experimentation
- Sequencing
- Loops
- Variables
Extra information for educators
This activity may sound simple but is packed full of indispensible concepts that form the foundation of much programming! Student will see that code can be written in different ways but achieve the same result.
every journey starts with a single step!
We are going to start by keeping it simple and just take it one step at a time...literally.
Create a new Scratch 3 project with the Marty the Robot extension added.
Getting Started with Scratch 3
There are already built-in blocks that will program Marty to take steps forwards and backwards but how about we teach Marty how to walk ourselves without these blocks! We need to think about breaking down a complex movement like walking into smaller, individual movements whilst thinking about balance and the individual joints.
First, let’s think about how we would walk. This is quite a difficult movement to break down because we’re so used to doing these movements without too much thought or fuss!
We lift one leg, move it forward a bit and then put it back down on the ground. Then the other leg does the same. But there’s something else happening in the background. What happens to our weight when we’re standing on one leg? It shifts to the side that is still connected to the ground!
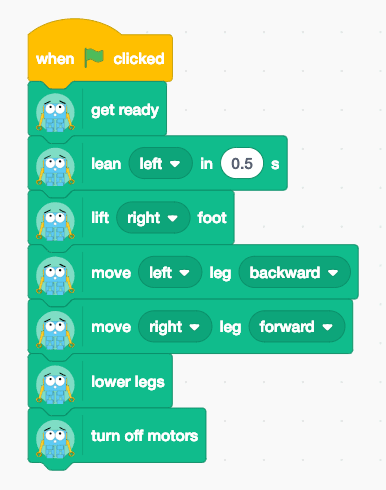
If we try putting all of that together, we get the following blocks to take one step with our left leg,
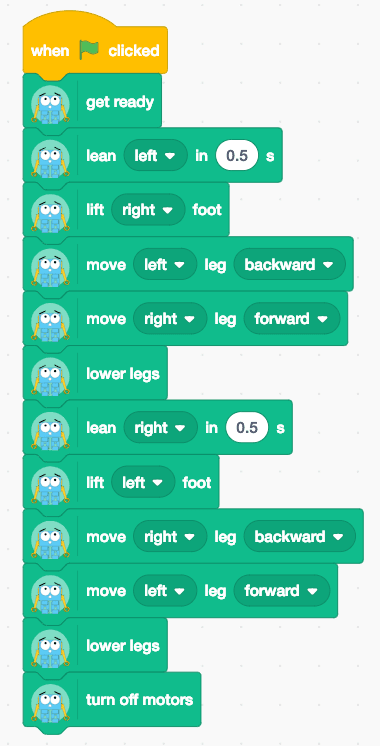
But we usually need to take steps with one leg after the other like so,
Next Step: Using Functions
Let’s say we wanted to take more than two steps, that would take a lot of repeated blocks of code, so we’ve introduced some functions here.
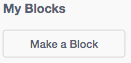
Go to My Blocks and click on Make a Block.
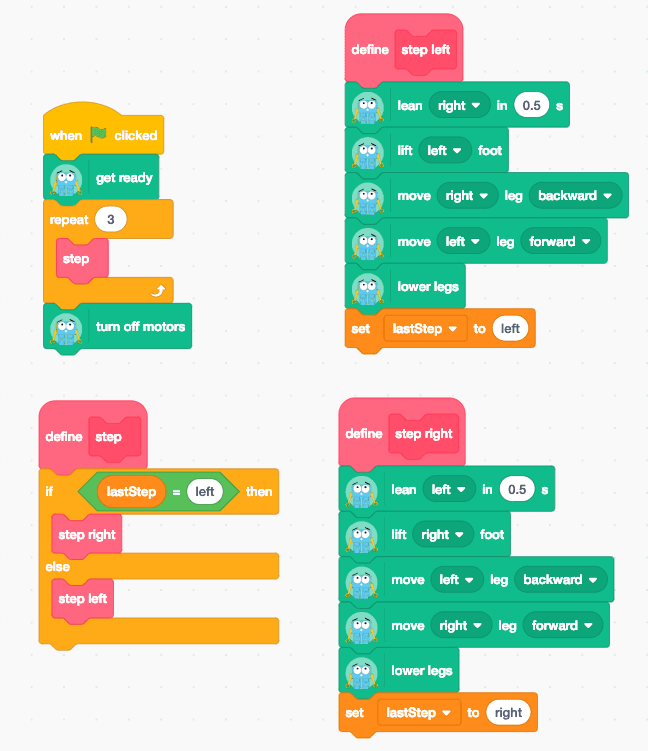
Make functions called step left and step right to represent taking a step with our left leg and taking a step with our right leg. Now we can just call these functions using these blocks when we want to take a step with that leg. We have joined the code blocks that we put together previously for each step to the define blocks.

FINAL STEP: Using Variables
Wouldn’t it be nice if we didn’t have to specify which leg we wanted to step with? After all, how often do you think about which left needs to take the next step when you’re walking?
We can do that easily by introducing a variable called lastStep to keep track of what leg we just used to take a step. A variable is a quantity that can be measured (or put into categories) and its value can be changed.
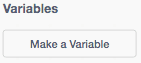
You can make a new variable by clicking on Make a Variable in the Variables section of the coding blocks.
If step left has just run, then the value stored in the variable lastStep is left and then when step right has run the value is replaced by right. Theset block from the Variables section of the code blocks is used to make a variable take a particular value.
We also want to go to My Blocks again and make another called step.
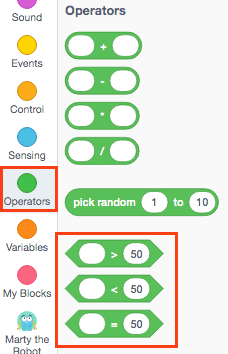
We are going to use the equal to block from the Operators section of our coding blocks. The equal to block is grouped with the greater thanand less than blocks because these three blocks compare quantities. We want to find out if two quantities are the same.
The function step determines whether Marty takes a step to the left or a step to the right - can you follow the logic? If the value of the variableis equal to left then the step right function runs and the value of the variable becomes right so the next time step runs then lastStep isn't equal to left so step left will run. This makes a pattern of step left then step right...left...right...left...right.
We now have a walking Marty!
Challenge: EXPLORING MARTY'S INDIVIDUAL LEG JOINTS
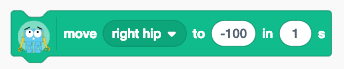
If you want to take it one step further (no pun intended), you could explore moving the individual different joints such as the hip, twist or knee with the following block!
Add some extra blocks into our routine so that you can control Marty's individual joints. Here are a few things you will need to think about,
- Explore each joint in turn to find out which bit of Marty moves. Can you identify Marty's different joints?
- What is the maximum amount that you can move each joint? Now is a good time to get find out what the numbers mean and get familiar with the range of movements that Marty can make!
- What changes help Marty to walk? What changes make it harder for Marty to walk? You might find it helpful to imagine yourself walking too!
I need some help!
Start simply by using this block to move different joints in turn:
Hint: Find out the biggest and smallest number you can use to control the joints!
What Next?
You have now just programmed Marty in different ways to walk without the built in walk function using Scratch. If you want to continue to explore how Marty can move without using the built in functions, here is how to get going!
- Pick a different built in function and try to break it down into individual joint movements. Act it out yourself to help!
- Try to write code to make Marty move in the same way but without the built in function.
- When you have got Marty moving correctly, think about ways you could write your code differently. Remember how we used functions and variables!