

1.1 – Introduction to Marty the Robot
Lesson Overview
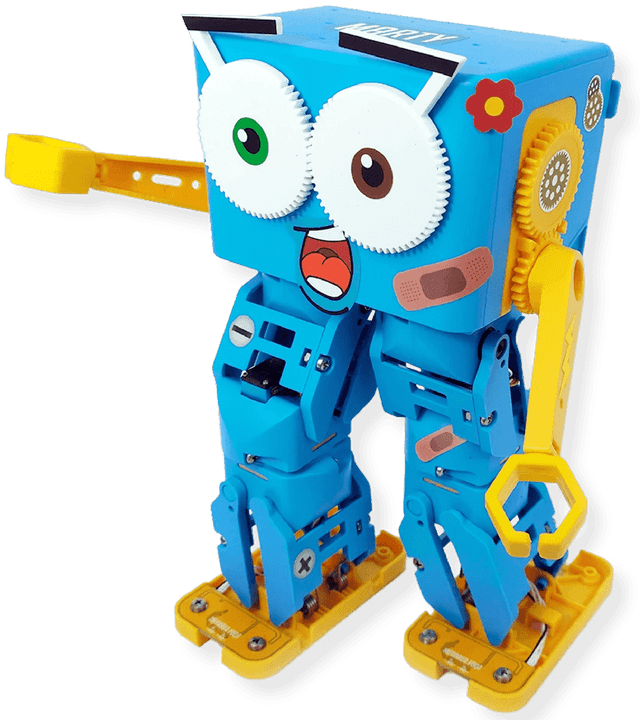
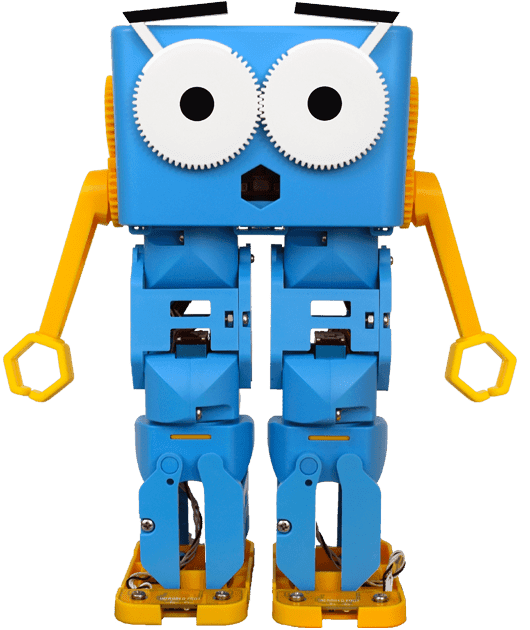
This first lesson is an introduction to Marty and gets students to start thinking about what different parts are used to make him. The basics of which parts move and how will be covered through allowing students the opportunity to design their own Marty the Robot and try out the different movements for themselves.
Key vocabulary:
• Robot
• Movement
• Joints
• Paper Engineering
Content Sections
1.1 – Introduction to Marty the Robot
Lesson Overview
This first lesson is an introduction to Marty and gets students to start thinking about what different parts are used to make him. The basics of which parts move and how will be covered through allowing students the opportunity to design their own Marty the Robot and try out the different movements for themselves.
Key vocabulary:
• Robot
• Movement
• Joints
• Paper Engineering
- None
- N/A
-
- Marty the Robot
- Marty Workbook (Lesson 1)
- Marty colouring-in worksheet
- Colouring in pencils
- Scissors
- Paper Fasteners
Learning Objectives
- Understand which parts make up Marty the Robot
- Point out different body parts and have a basic understanding of how they move
- Class discussion of what a robot is by getting students to consider how they would define a robot and name any robots that they have heard about
- Continue class discussion by getting students to think about what jobs/tasks robots do and where you would find them (try going through some of the examples of robots mentioned in part 1)
- Using Marty body diagram worksheet in the Marty workbook, ask students to name the different parts on the sheet and label them
- Continuing with this worksheet, ask students to circle the joints/the parts of the body that they think will move
- Using Marty colouring-in worksheet, give students chance to colour in their Marty and design their own ‘Marty stickers’, showing some examples of different Marty styles to them beforehand for inspiration
- Cut out the different body parts and fasten them together using paper fasteners. Students should now have their own paper Marty representing the different body parts that move
Extensions & Support
N/A
Additional Reading
• Educator’s Guide