

3.1 – Programming Marty with Python
Lesson Overview
In this lesson, students get an introduction to Marty and how we can create and run commands that will move different body parts. Students should start to develop an understanding of the outcome of different coding commands on Marty and the environment that he is in. They should also start to gather a better understanding of the Python syntax.
- Python , Coding , Command , Functionality,
Content Sections
3.1 – Programming Marty with Python
Lesson Overview
In this lesson, students get an introduction to Marty and how we can create and run commands that will move different body parts. Students should start to develop an understanding of the outcome of different coding commands on Marty and the environment that he is in. They should also start to gather a better understanding of the Python syntax.
- Python , Coding , Command , Functionality,
- N/A
- Laptop or PC
-
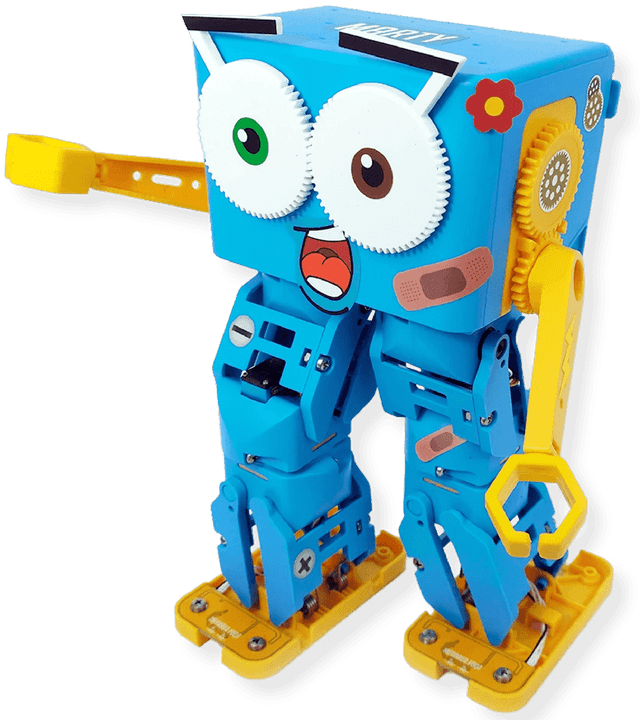
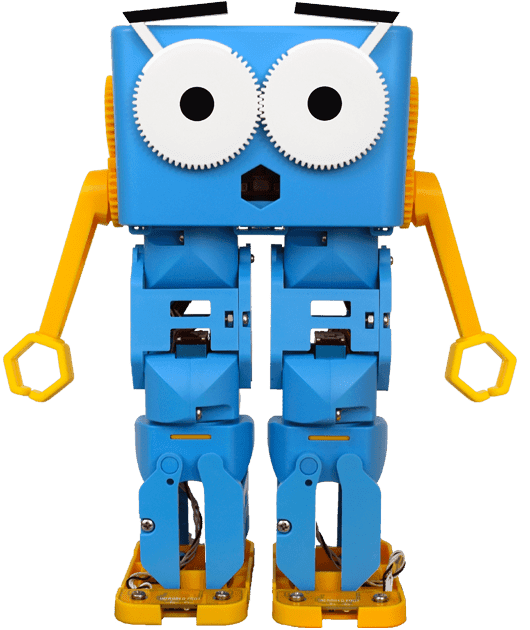
- Marty the Robot
- Student Workbook (Lesson 1)
- Python editor (such as IDLE)
- Access to computers/laptops (with Python & MartyPy installed)
- Marty Says cards
Learning Objectives
- Run Python commands to move different Marty body parts
- Describe the outcome different commands will have on Marty and his environment
1. Ask students to write down instructions for drawing a robot (drawing alongside each instruction what they imagine someone would draw)
2. Students should read out their instructions to a partner who will be drawing the robot from the instructions that they hear
a. Is the drawn robot similar to how the student thought it would be?
b. Swap roles so that both students get to test out their robot drawing instructions
3. Gather ideas from students on the kind of functionality they think that Marty will have by looking at him and investigating different body parts
4. Show students examples of a few different commands that can be used with Marty and ask them to predict what they think the outcome will be
5. Show students the documentation for the MartyPy library
6. Given some random Marty Says cards, get students to code Marty into that position using the commands described in the documentation
7. Students come up with their own poses, draw these and then challenge the classmates to write code to recreate that pose, experimenting with the values that can be passed into commands
Extensions & Support
- Students can keep a journal detailing how each of the commands works – for example what values are needed for moving Marty’s left arm upwards?
- Challenge students to move each individual body part using different commands/values to achieve this
Additional Reading
- Educator’s Guide
- Getting Started with MartyPy