

2.21: Estimating with Distance Sensors
Lesson Overview
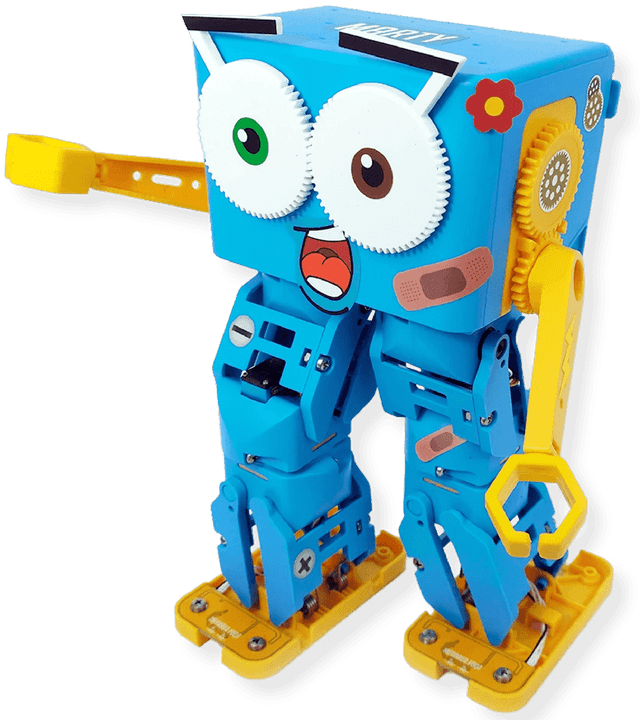
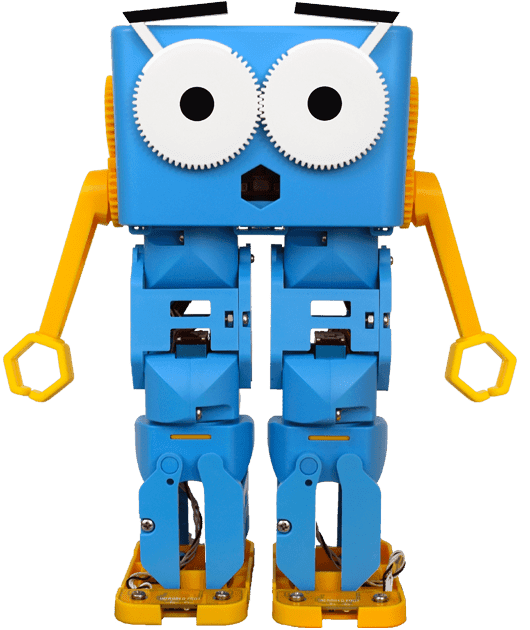
In this lesson, students are introduced to the infrared (IR) distance sensor, like the add-on available with Marty v2. These sensors allow Marty to measure the proximity of objects using beams of IR light. The applications of IR sensors in the real world are discussed before students are invited to write a program in which Marty responds to a person walking past him, in addition, learners will code different responses according to the sensed distance and learners will estimate how far away something is.
Please read the knowledge base article about the distance sensor add-on, before engaging with this lesson.
- Infrared, Sensor, Sense, Repeat until or conditional loops, Distance,
Content Sections
2.21: Estimating with Distance Sensors
Lesson Overview
In this lesson, students are introduced to the infrared (IR) distance sensor, like the add-on available with Marty v2. These sensors allow Marty to measure the proximity of objects using beams of IR light. The applications of IR sensors in the real world are discussed before students are invited to write a program in which Marty responds to a person walking past him, in addition, learners will code different responses according to the sensed distance and learners will estimate how far away something is.
Please read the knowledge base article about the distance sensor add-on, before engaging with this lesson.
- Infrared, Sensor, Sense, Repeat until or conditional loops, Distance,
- Experience using sensors with Marty
- Tablet with Bluetooth 4.2+
-
- Marty the Robot V2
- Marty Workbook
- Devices that connect to Marty
- Access to the MartyBlocks editor
- Distance Sensor add on for Marty v2
Learning Objectives
- Read a distance sensor
- Create conditional statements
- Program Marty to respond to specific distances from an object
Warm up
Have Marty, or Martys, set up at the entrance to the door. Have them set up to respond to learners that come within a certain distance. If using more than one Marty, program different responses when learners pass close enough. Ensure that you are not near a computer when the learners enter so that they can see you are not controlling Marty's response.
Ask learners what they witnessed as they entered. Ask for suggestions they can think about when machines move 'automatically'. Responses might include automatic doors, security lights, speed cameras (speed traps). Ask learners for suggestions as to what the displayed machines have in common. Distance sensors may be suggested, if not, highlight the machines that do have distance sensors and ask what causes them to function/move.
If distance sensors are suggested now, discuss with the class what they are and how they might work. The definition of a distance sensor is in the teacher guide, as well as a simple explanation as to how they work. For more details, see the link in the "Additional Reading" section.
Invite learners to consider devices that use distance sensors. Some examples are included in the slides. Using these as inspiration ask the learners to think of what they could use Marty's distance sensors for.
Ask how they think Marty was able to change as learners moved closer or farther away. What code do we need to tell Marty to do different things when an action occurs? Hopefully learners will suggest an if statement, or conditional statement. If they do not, prompt learners with reminders from previous lessons than involved conditionals.
Get Learning
Share with learners where to find the block for the distance sensor and identify the physical sensor on Marty so that they can see the part of Marty that sends and receives the signal. To more fully engage the learners, it is possible to install the sensor with the class, each group having responsibility for attaching the sensor to a Marty.
Have learners tick the box beside the sensor so that they can see the sensor's range, accuracy and speed with which the information updates.
Display the video of Marty using the conditional statement to react to something at a certain distance.
Compare how this sensor works with the obstacle sensor: the distance sensor is able to specify the distance has to be in order to trigger an action, the obstacle sensor is only able to determine if something is in the way or not, and that something has to be very close.
Highlight the fact that only one action occurs and it only occurs once. Encourage learners in their group to plan for more opportunities. After some ideas about a lack of repeat blocks, or some other way of looping the information, ask learners about how far away they think the object was that caused Marty to react. Draw attention to the conditional statement and what the value was, next to the inequality. This allows us to make an estimation about the distance from Marty that the object is.
To familiarise the class with the distance sensors and check they are working as expected, ask them to record the maximum(approx 1700mm) and minimum (39mm) values Marty's distance sensors can report in their workbooks. By measuring the distances for themselves, the learners will get a feeling for the scale over which the distance sensors operate in the real world.
Ask learners to begin planning for two things: what is Marty going to do as a response, the action; when is Marty going to respond in a specific way, the distance that triggers the response. Have learners share their ideas once you have given groups time to plan.
time for Practice
In their groups, learners will need to test values to find if the conditions for movement are reasonable. This will fulfill two goals: it will give learners a chance to estimate distances in millimeters, or convert to another unit, and it will reinforce the need for trial and error in development until they reach a satisfactory result.
Give learners ample opportunities to test their code using different static objects and moving objects, running the code when the object is already a set distance away and when the object moves, perhaps triggering more than one reaction from Marty.
The range from closest to farthest allows for several conditions and reactions from Marty.
Cool Down
Bring learners back together to discuss the challenges they faced and overcame. Have groups model their creations and explain what is happening, when. Encourage other groups to ask questions to deepen the understanding of the processes.
Suggested questions you might ask:
- How did you determine what values to use for the conditional statements?
- Did you find that there were times when too many or too few conditional statements weren't quite right?
- Did your reactions change appropriately, depending on the distance of the object from Marty?
- How many times did you change the values that triggered a condition? Do you think this was enough or do you think you should have changed it more frequently?
Carry out any end of lesson routines.
Log off devices and clear everything away.
Extensions & Support
Extend
- Have learners explore how to indicate the closeness of an object and create code to display a scale from closest to farthest away:
- using the move arm to raise up for farthest away and lower for closest;
- make use of Marty's add-ons, like the disco lights, to display a visual scale;
- increase or decrease movement dependent on the distance from an object.
Support
- Have measurement tools readily available, with conversion tables for mm, cm and m.
- Have visual support for the location of the key blocks: distance sensor, operators and control blocks.
Additional Reading
- More information on how an IR distance sensor similar to the one Marty uses works is here:
- Middle School Technology Applications: Grade 6 to Grade 8
- Technologies: Computing Science
- Literacy & English: Listening and Talking
- Health and Wellbeing: Mental, Emotional, Social and Physical Wellbeing
- Numeracy: Number, Money and Measure
- Literacy & English: Writing
- Computing, Design and Technology: Design and Technology
- Computing, Design and Technology: Computing
- CSTA Education Standards
- Digital Technologies, Design & technologies: Digital Technologies
- International Society for Technology in Education (ISTE)