

Summer Lesson - Marty Mini Golf
Lesson Overview
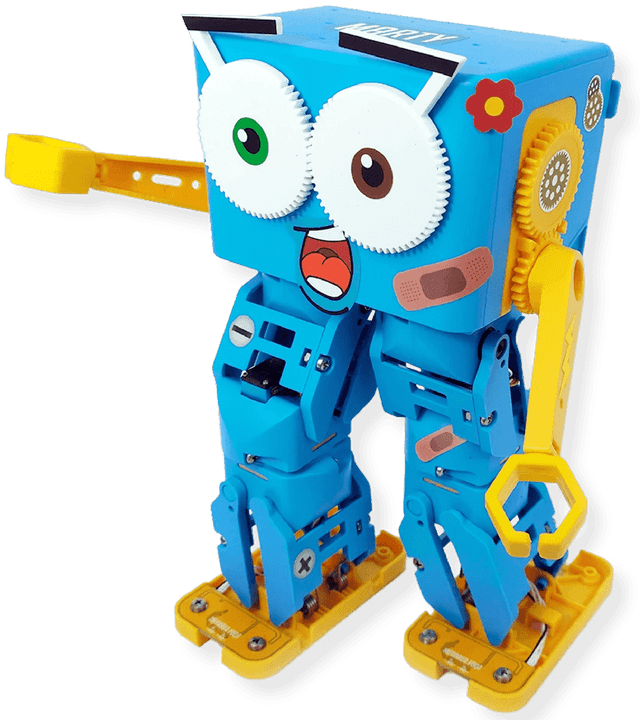
Program Marty to become the next Tiger Woods in this golf-themed summer lesson. Create your own mini golf course and putter so that we can create a program to move Marty around the course and hit the ball towards the pin! You’ll need to think about the speed that Marty can hit the ball and the angles that the ball can move around your golf course.
- Scratch, Mini Golf, Angles, Force, Speed, Movement,
Content Sections
Summer Lesson - Marty Mini Golf
Lesson Overview
Program Marty to become the next Tiger Woods in this golf-themed summer lesson. Create your own mini golf course and putter so that we can create a program to move Marty around the course and hit the ball towards the pin! You’ll need to think about the speed that Marty can hit the ball and the angles that the ball can move around your golf course.
- Scratch, Mini Golf, Angles, Force, Speed, Movement,
- Lessons 1.2, 1.3, 1.6
- Laptop, PC or Tablet
-
- Marty the Robot
- Laptops/Computers/Tablets
- Access to Scratch (X or 3)
- Materials to create the mini golf course and putter (paper/cardboard/straws/...)
- Blue-tac/cello-tape/elastic bands to attach the putter to Marty’s arm
- Ping pong ball that comes with Marty
- Mini golf scorecards
Learning Objectives
- Design and build your own mini golf course using resources like cardboard and paper
- Design and build your own putter for Marty, thinking about how effectively the built putter will be able to hit the ball
- Create a program that will allow you to move Marty around the course and hit the ball towards the pin
1. Split students up into small groups so that each group has 1 Marty between them
2. Give students some time to draw out some ideas for their mini golf course
a. Ask students to think about times when they have played mini golf and what different kind of styles each of the holes had
3. Students should use the available resources to build their mini golf hole (each group should create one hole each!) and test with the ping pong ball that comes with Marty by gently flicking the ball
4. Once happy with their course, students will need to move their attention to designing and building a putter for Marty
a. They might want to do some research into the different putters available to golfers and think about reasons for why someone might pick different styles of putters
b. After designing and planning, students should use there sources to build a putter for Marty and attach it to one of the arms using either blue-tac, cello-tape or elastic bands
5. Students should launch the Scratch interface and test out moving the arm that the putter is attached to, ensuring that Marty can hit the ball with the attached putter
6. Students should create a remote control for Marty using Scratch so that they can program Marty to go along the course and hit the ball towards the pin
a. Students might want to test how the ball moves depending on the arm movements (if the arm moves higher up does the ball go further?)
7. Using the golf scorecards, student groups should go around all the different holes that other groups have created to make up their full round of mini golf. Writing down their score along the way (how many shots it takes to get the ball to the pin) and then comparing scores at the end
Extensions & Support
- Test out different approaches with the putter – is one arm better than the other? What height works best?
- Add a Raspberry Pi to Marty’s head and program Marty to track the ball and walk towards it (very challenging!)
Additional Reading
- Educator’s Guide
- Introduction to Programming with Marty using Scratch Tutorial for the Marty Mini Golf game